You have plenty of options when it comes to layering, and the key is to develop a system that works best for you. Everyone’s body reacts differently to cold, heat, and exertion, so your layering strategy should be based on your own past experience and comfort level.
That said, here’s my recommendation for how to implement an effective layering system. This approach has been tested in demanding mountain environments over 30 years and is designed to keep you warm, dry, and adaptable as conditions change.
After 30+ years of hiking, Trekking, climbing and mountaineering around the world, I can tell you there is never a one size fits all and I can still make mistakes. Don’t beat yourself up, just prepare better for the next adventure. Need advice get in touch.
Implementing a Good Layering System
What I can tell you is what works for me and hope this helps you as you prepare for your next adventure. There are a few things to consider, and I will try and give you food for thought as you test your layers and system you think will work best for you.
Pro tip: Test and make sure that all your layers fit over one another comfortably.
How Many Layers do I Need
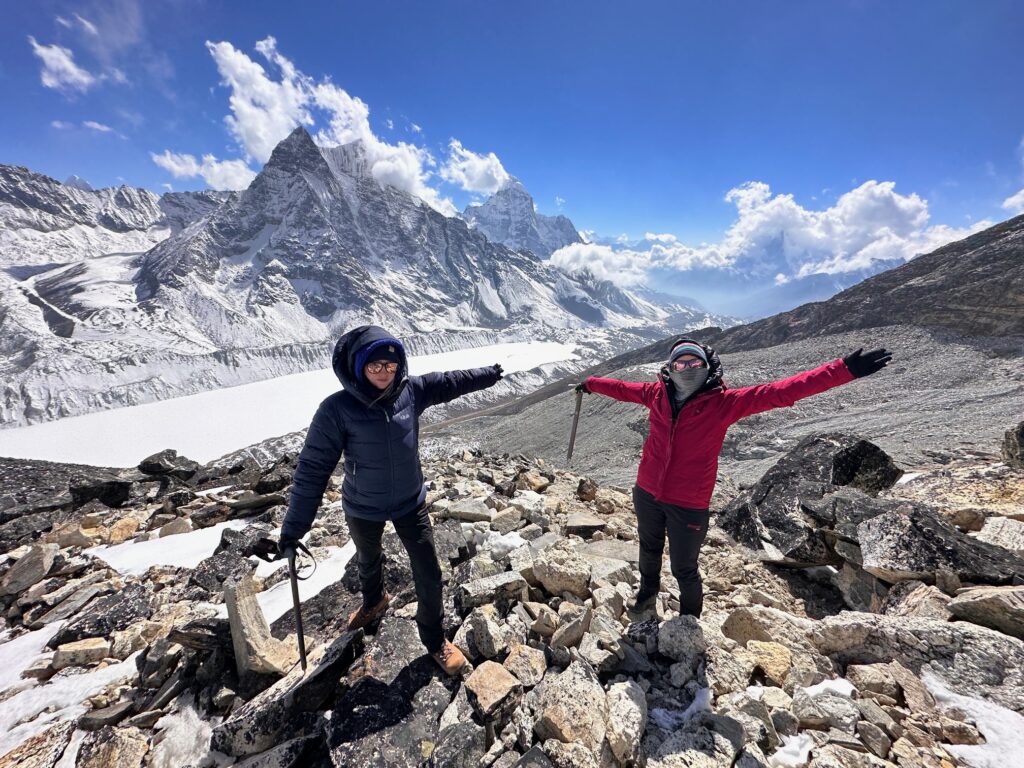
In a normal laying system four layers will suffice. The thickness of these layers will depend on the expedition. For example, if I am on Kilimanjaro I would use a down jacket like the Rab Neutrino or similar. If I were on Aconcagua I would use a down parka Mountain Hard wear or Rad Positron pro or similar. I would use a light vest on Kilimanjaro like the Patagonia micro buff. If I were on Aconcagua, I would have a thicker down vest like the Patagonia down sweater.
Base Layers: Your First Line of Defense
We call this first piece of clothing the base layer, and it’s one of the most important parts of your layering system. Its main job is to sit close to your skin and regulate body temperature, keeping you dry and warm. Personally, I prefer a thicker merino wool base layer, such as the Smartwool 260, because merino is naturally breathable, odor-resistant, and performs well across a wide range of conditions. This would be used in temperatures below freezing.
There are many excellent brands on the market, so it’s worth trying a few to see what works best for you. Keep in mind that some people find wool slightly itchy or irritating, so always test your base layers before committing to them on a big multi-day trekking adventure.
For those with sensitive skin, synthetic base layers can be a good alternative, as they are lighter, dry faster, and often cost less—though they may not offer the same warmth or odor control as merino.
Choosing the right base layer ensures your comfort, reduces the risk of chills, and sets the foundation for an effective layering system.
Pro Tip: No sweating. Remember you can regulate temperature through your head and by layering correctly.
What Layer Comes After Merino Wool?
Once you’ve established a solid base layer, the next step is your insulating layer. This is what traps the heat your body generates and keeps you warm. Personally, I always carry a down vest on every trip. A vest is lightweight, highly packable, and perfect for maintaining core warmth without adding bulk to your arms.
Down insulation is particularly effective because it offers an excellent warmth-to-weight ratio and compresses easily into your pack when not in use.
Synthetic insulation is also a great option in wet or humid environments, since it continues to insulate even when damp. The key is to choose an insulating layer that’s versatile, easy to layer under a shell, and appropriate for the temperatures you’ll face.
What Layer Comes After a Down Vest?
After your insulating vest, the next layer to consider is your mid-layer. Traditionally, many trekkers and climbers relied on a fleece jacket for this role because fleece is breathable, affordable, and provides reliable warmth. However, in recent years, I’ve shifted more toward using synthetic insulated jackets, such as the Patagonia Nano Air or similar options from Arc’teryx and other premium brands.
These synthetic layers are lightweight, compressible, and extremely versatile, making them ideal for changing mountain conditions. Unlike down, they retain much of their insulating ability even when damp, which is a huge advantage in wet or humid environments. They also layer easily under a shell or over a base layer, giving you flexibility to adjust quickly as temperatures and activity levels change.
While fleece still has its place—particularly for high-output activities where breathability is key—synthetic mid-layers have become the go-to for many serious trekkers and climbers looking for a balance of warmth, durability, and weather resistance.
What Layer Comes After a Mid Layer
The next crucial step in your layering system is a down jacket. This is your primary high-insulation layer, designed to provide serious warmth in cold conditions or during periods of low activity, such as at camp or on rest breaks. The type of down jacket you choose should depend on the expedition, altitude, and expected weather conditions. Watch us explain the difference in down jackets and why it matters.
For moderate trekking environments, a lightweight down jacket may be all you need. It’s easy to pack, quick to put on, and perfect for chilly evenings or colder summit mornings. On high-altitude expeditions—such as Aconcagua or Everest—you’ll need a heavier expedition-grade down jacket, built with higher fill power and more durable outer fabric to handle extreme cold and wind.
Down remains the gold standard for warmth-to-weight ratio, but keep in mind that it loses its insulating power when wet. It can also lose impact in windier conditions. If you’re trekking in wetter climates, consider bringing a synthetic insulated jacket as a backup or pairing your down with a high-quality shell for protection.
I May Add an additional layer
On rare occasions and normally in Ecuador, I’ll add a Gore-Tex shell jacket as the final layer in my system. This outer shell is essential for protection against wind, rain, and snow, creating a barrier that keeps the elements out while helping to trap the warmth generated by your inner layers.
The key here is fit—your shell must be large enough to comfortably fit over all your other layers, including your down jacket, without restricting movement.
I personally carry a slightly oversized Gore-Tex rain jacket on every expedition for this reason. A jacket that’s too small can compress the insulation layers underneath, reducing their effectiveness, while a properly sized shell allows your system to work as intended.
This final layer gives you the flexibility to adjust to sudden weather changes, ensuring you stay warm, dry, and protected no matter what the mountain throws at you.
Testing Your Layering System
A successful layering system is not only about having the right clothing but also about ensuring that each piece works together effectively. One of the most frequent issues on expeditions is participants arriving with layers that are either unsuitable or untested. Every layer should be fitted properly, allowing for comfort and mobility without restricting circulation or creating excess bulk.
Equally important is testing your system in real mountain conditions before your expedition. Local hikes, training climbs, or cold-weather outings provide the opportunity to assess how your base, mid, and outer layers perform in changing environments. This preparation helps identify weaknesses, ensures comfort, and builds confidence in your gear when you need it most.
Temperatures: Layering up and down
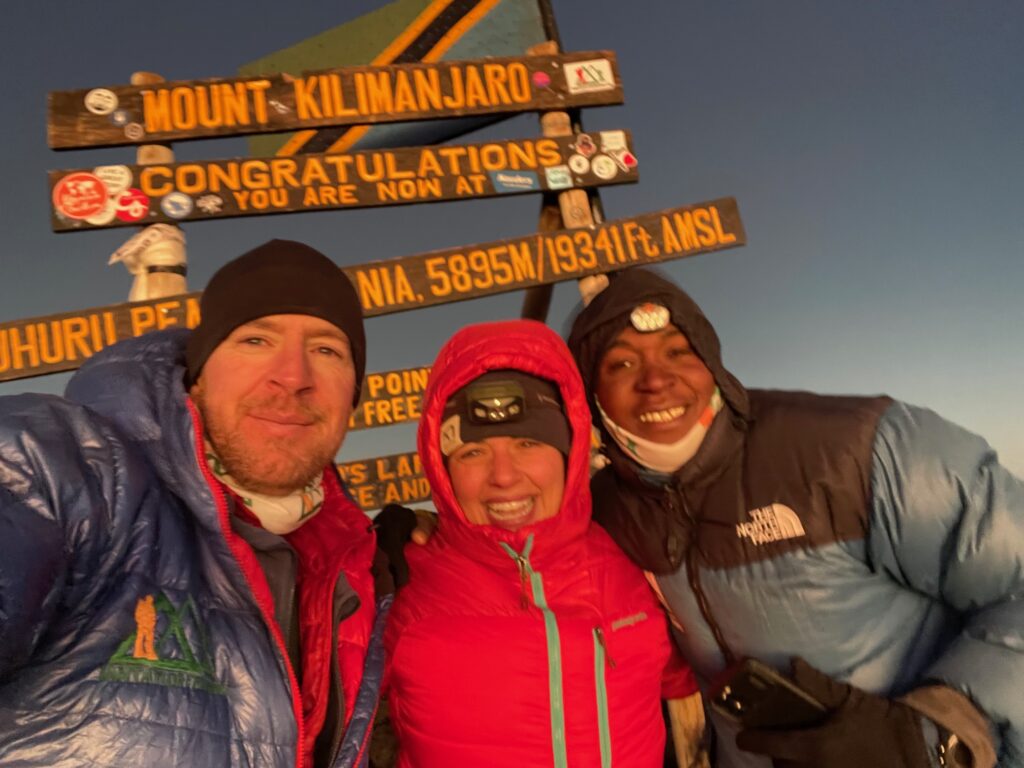
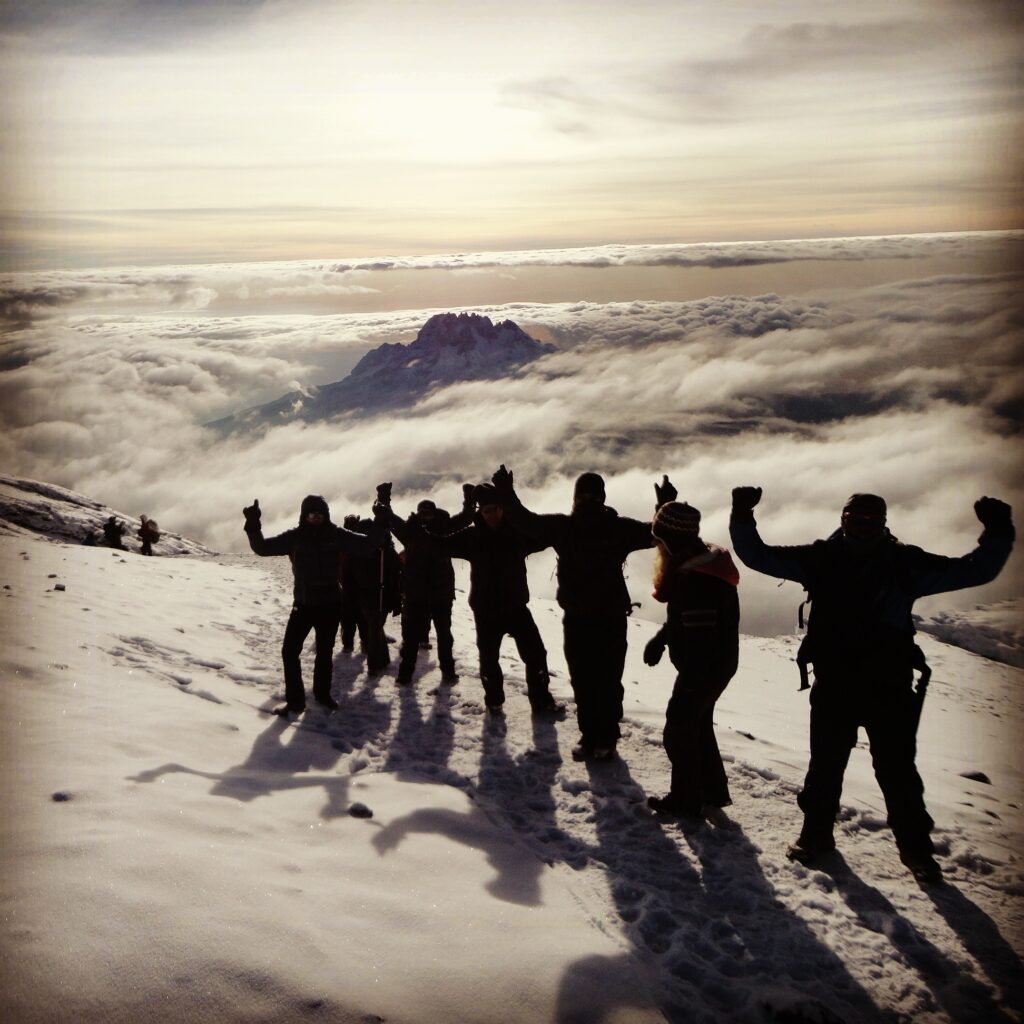
Having climbed Kilimanjaro almost 50 times I can tell you the temperatures vary a lot from one trip to another. I have been on the summit when it is -10F and 28F and only 10 days apart.
The weather changes from day to day high on any mountain. Be very careful reading information that says it was warm on the summit and big gloves and down jacket were not needed. This may be true for that specific summit but not normal and that information is not accurate.
The key is to be versatile. It is extremely important to have a layering system so you can adjust to the range of temperatures you will find high on any mountain. A layering system like I have outlined above offers you a range of coverage depending on the temperatures.

Summit Night Layering
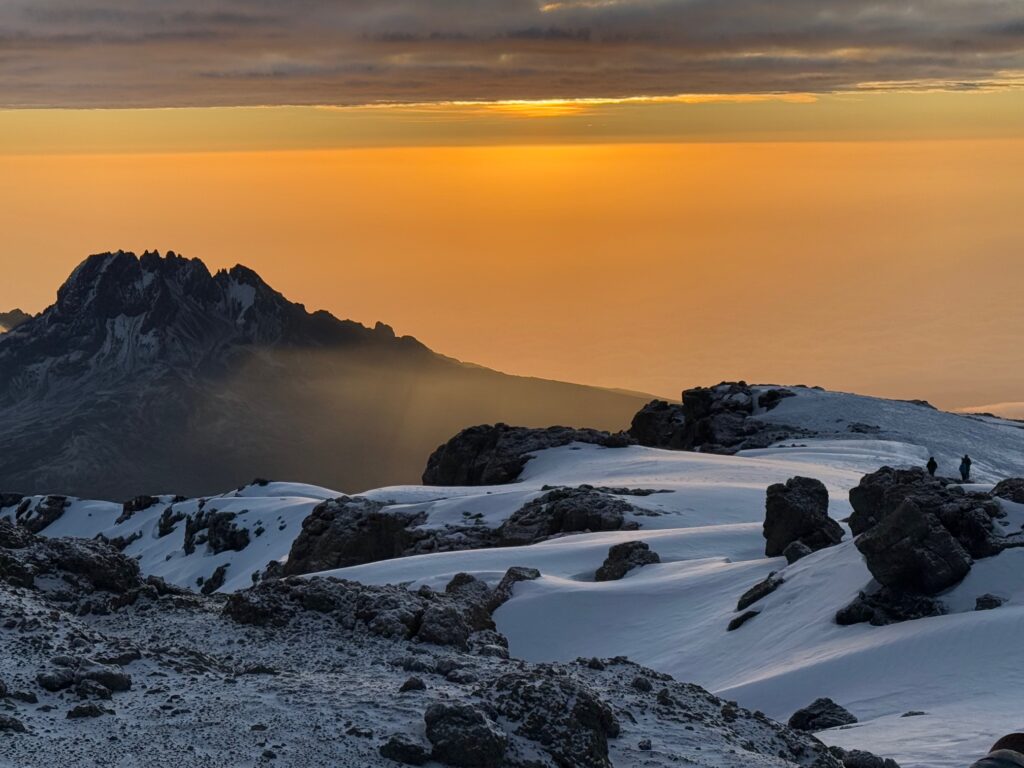
On a midnight or 1am start, it will be warmer than it will be 1,000m (3,300 feet) higher right before dawn. The temperature drops two degrees Celsius for every 1,000 feet at elevation. Remember the temperature gets colder towards dawn. This is normally when you are higher on the mountain. Read more here about our approach to summit night on Kilimanjaro.
So, it is important to remember that early in the morning right before dawn you will be fully layered up. You will probably not start with your full layering system. This key is to have options, lightweight options. You will need to be able to mix and match layers depending on your comfort level, temperature and winds. It will always be coldest right before dawn.
Depending on moisture levels layering will be different. Kilimanjaro, will be different that Cotopaxi and my Aconcagua layer system will be different than Cotopaxi. Our guides will go into the detail on each trip. You just need to make sure you have the correct layers with you. If you need to chat through this before your trip get in touch with our team.

Layering for your Feet
Layering your feet properly can be trickier than it seems, but getting it right makes a huge difference on long treks or climbs. First and foremost, always make sure your boots are fully broken in before an expedition. Test them on steep, mixed terrain to ensure you do not get any hot spots, pinching, or pressure points that could cause blisters. Make sure you dry out your boots as best you can. Left over moisture an freeze in cold conditions and cause real problems.
Over the years, I’ve used a variety of trekking boots and mountaineering boots and the key takeaway is that fit, comfort, and proper layering of socks can make or break your experience on the mountain. Consider moisture-wicking liners and warm insulating socks for colder conditions, and always carry a spare pair of socks in case your feet get wet.
Single Mountaineering Boots
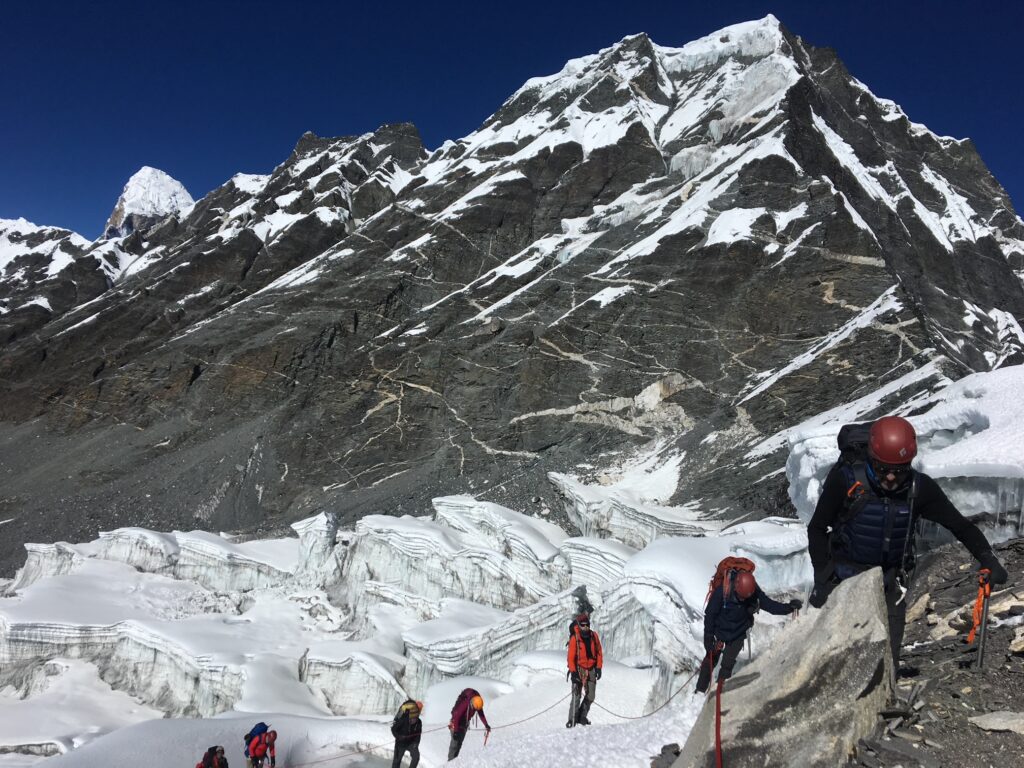
I would normally use a single mountaineering boot in the Alps, on Mont Blanc, the Matterhorn and Alpine peaks. On the Gondogoro La on our sleeping at K2 Base Camp trip, I could use single mountaineering boots or a hybrid style boot like the La Sportiva Trango Trek GTX.
There are a range of single mountaineering boots that can be used on Mera Peak, or Lobuche East or Cotopaxi in warmer months but always best to test yourself at altitude on trekking peaks to see how you reach to the cold. You can also test your gear In Europe, Canada, Colorado or Scotland so make sure your layering system and boots work for you in colder conditions.
Double Boots
I love double boots. I have been using my La Sportiva G2SM’s for over a decade. This boot is no longer available but the G2 EVO is an upgraded boot. They are bulky but lighter and warmer than a lot of single mountaineering boots.
Make sure your inner boot is snug with no rubbing in the heel or toes. This is important when layering with these boots.
I have added super feet inserts and use a range of socks depending on the trip. Rarely do I use two sets of socks. I use ski socks, lighter trekking socks with my trekking boots and summit socks in these Double boots. On Aconcagua I like to use a liner wicking sock as my feet can get to hot on the way down.
Always have compeeds or hydro seal blister pads. On big trips I might even preemptively tape my feet if I know I will be in these boots for long days back-to-back. I can get some hot spots in these boots as the temperature rises and if I have been in them for long periods of time on steep terrain.
Pro tip: Remember it is better to err on the side of caution. Pick the warmer boot recommend for the expedition you are joining. Always be thinking ahead to future trips when buying any boots or gear.
Sock Layers
Layering your socks properly can prevent moisture buildup and keep your feet warm. A good system usually includes:
Thin liner socks – these wick moisture away from the skin and reduce friction.
Insulating outer socks – made of wool or synthetic blends, these provide warmth and padding.
Spare socks – always carry an extra pair in case your feet get wet. Wet socks can quickly lead to blisters and cold feet.
Insoles and Footbeds
Quality insoles can improve comfort, support arches, and reduce fatigue. For longer treks, consider custom orthotics if you have specific foot concerns. Insoles also help distribute pressure evenly, preventing hotspots.
Moisture Management
Keeping your feet dry is crucial. Moisture-wicking liners help, but also check your boots’ waterproofing. Breathable boots allow sweat to escape, reducing the risk of cold feet or blisters. Avoid cotton socks, as they trap moisture and increase friction.
Even with the best preparation, conditions can change. If your feet get hot or start to sweat, take a break, air them out if possible, and change socks if necessary. Small adjustments early can prevent serious discomfort later.
Extra Tips from Experience
Trim toenails to prevent pressure-related injuries.
Use blister prevention tape or lubricants on known problem areas.
Make sure boot laces are snug but not overly tight to maintain circulation on any ascent. Tighten your boots for the downhill.
With the right layering system for your feet, you’ll improve your comfort, performance, and safety on any trek or climb. Think of your feet as the foundation for the rest of your adventure—if they’re happy, the rest of your body will follow.
Layering for Your Hands
On some trips I bring one pair of gloves, other trips two sets, something three and Bigger expeditions I bring four sets of gloves. I always have a liner glove followed by a work glove.
I will have a pair of water proof warmer gloves like a Black Diamond guide glove and my Alti-mitts depending on the expedition. If the climbing is more technical I will normally use gloves with fingers and on more straight forward technical peaks like Aconcagua I would always have my mitts. Again, I want to have options when it comes to gloves.
Pro tip: Make sure your liner gloves fit perfectly into your bigger gloves you do not want a really tight fit.
Covering your Face
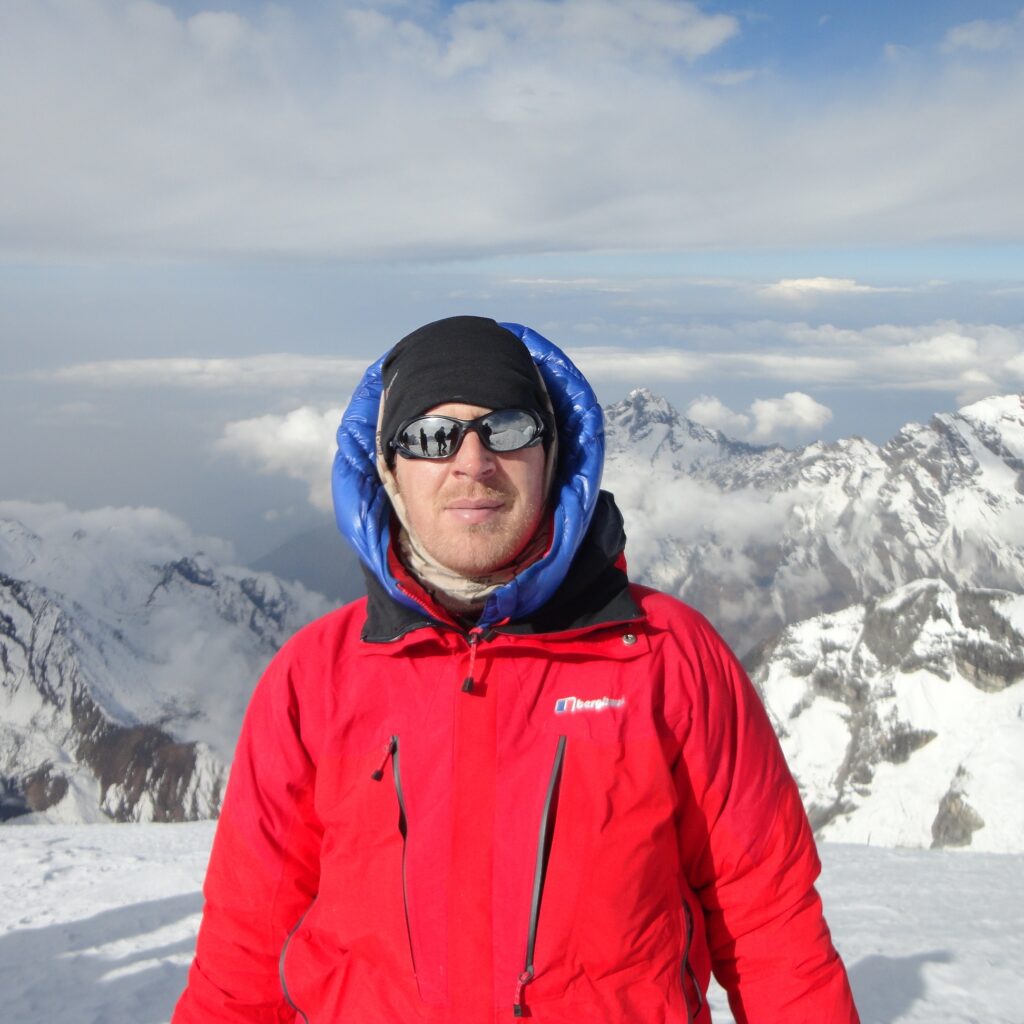
There are a few options when it comes to covering your face in the cold. Some people love balaclavas. I personally prefer having a fleece lined beanie with a buff. I can also use a polar buff for more insultation on colder peaks.
On glaciers it is worth considering using a face glove by outer. They have a face glove to protect you from the sun and fleece lined face glove to protect you from the sun and cold. I always have category 4 Jublo glasses with side wings and a pair of googles.
This does vary from trip to trip. If you need more specific information, feel free to reach out to our team. Remember if you are signed up for one of our trips we provide you with an itemized kit list for your specific trip.
Lack of Oxygen and Cold Extremities
Acclimatization and oxygen in your body is a key component of how warm you will feel at high altitude. The more red blood cells you carry the more oxygen in your body. This is why more days on on the mountain acclimatizing matters!! More acclimatization means you will feel better and warmer.
At high altitude, the reduced oxygen in the air forces your body to prioritize its vital organs. Blood is directed toward your lungs, heart, and brain, while circulation to your hands and feet decreases. This makes your extremities much more vulnerable to cold, often leaving them feeling numb or chilled even when the rest of your body feels warm.
To protect yourself, it’s essential to wear high-quality gloves, socks, and boots designed for cold-weather trekking and mountaineering. Proper gear ensures your hands and feet stay warm, reducing the risk of frostbite and keeping you comfortable on the mountain. This is one area you need careful consideration. Contact us for more information.
In saying that everyone feels the cold differently and it is extremely important to consider your experience with the cold when you start to think of implementing your layering system.

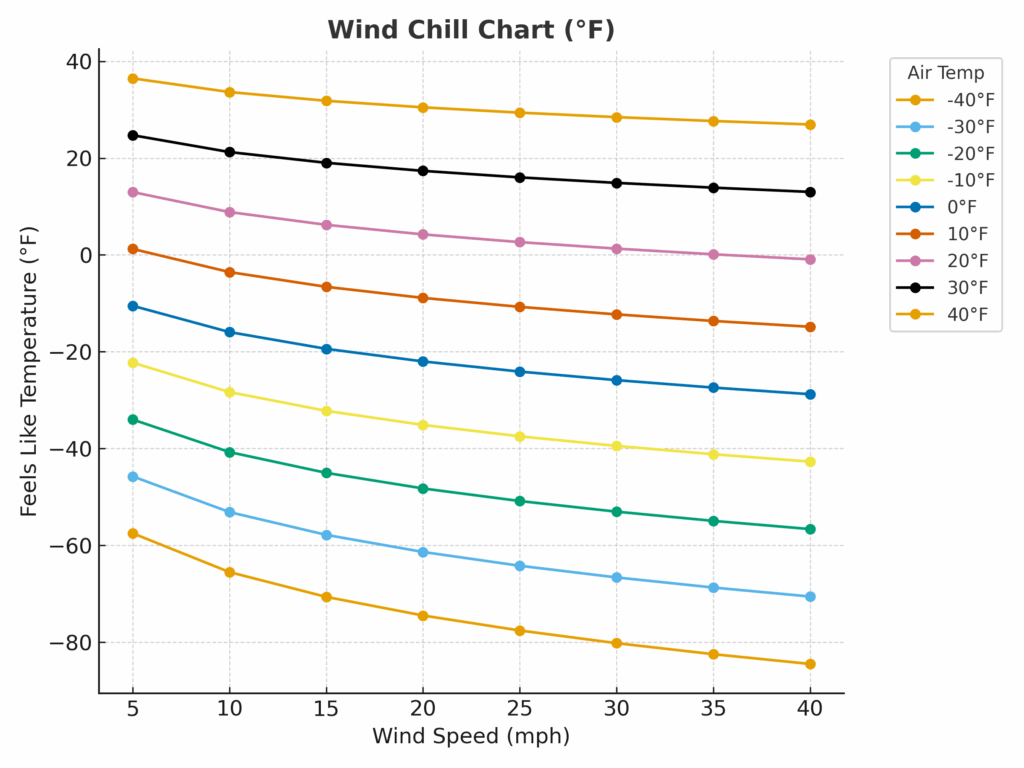
Wind Speed and its Effect on Your Clothing Choices
Normally we would not travel in extreme conditions when the wind speed is above 35 mph. High wind is a big variable and wind chill can test the limits of your layering system. A 10 mph wind doesn’t lower the actual air temperature, but it makes it feel colder (wind chill). How much colder depends on the air temperature.
Here’s what a steady 10 mph (≈16 km/h) wind typically feels like:
In °F (NWS wind-chill):
- 40 °F → feels ~34 °F (≈6° colder)
- 32 °F → feels ~24 °F (≈8° colder)
- 20 °F → feels ~9 °F (≈11° colder)
- 10 °F → feels ~−3.5 °F (≈14° colder)
- 0 °F → feels ~−16 °F (≈16° colder)
- −10 °F → feels ~−28 °F (≈18° colder)
In °C (wind-chill, 16 km/h):
5 °C → feels ~1.6 °C (≈3.4° colder)
0 °C → feels ~−4.6 °C (≈4.6° colder)
−5 °C → feels ~−10.8 °C (≈5.8° colder)
−10 °C → feels ~−17.0 °C (≈7.0° colder)
−20 °C → feels ~−29.4 °C (≈9.4° colder)
Move that up to 20 mph or 30 mph wind or strong and your gear will be tested to the limit. Here’s a wind chill chart graphic showing how wind speed and air temperature combine to make it feel much colder.
Layering System Summary & Key Tips
A proper layering system is all about flexibility, comfort, and protection. Each layer has a purpose:
Base Layer – Wicks moisture and keeps your skin dry (merino wool, synthetic, or blends).
Insulating Layer – Traps body heat (down vest, fleece, or synthetic jacket).
Mid Layer – Adds versatility and warmth (synthetic insulated jacket or fleece).
Down Jacket – Provides serious insulation in cold or high-altitude conditions.
Outer Shell – Protects against wind, rain, and snow (oversized Gore-Tex or similar).
Key Tips for Success
1). Make sure every layer fits comfortably over the previous one without compressing insulation.
2). Choose merino wool or synthetic base layers depending on your skin sensitivity, budget, and trip length.
3). Carry a versatile insulating layer (synthetic or fleece) that can handle sweat and light weather.
4). Invest in a quality down jacket appropriate to your expedition’s altitude and climate.
5). Always pack a waterproof, windproof shell that is big enough to cover all other layers.
Test your full system before your trek — go hiking in cold or wet conditions to see how your layers perform together. By building a layering system that balances warmth, breathability, and protection, you’ll be prepared for everything from cool mornings on the trail to freezing summit pushes at altitude.
The right layers not only keep you comfortable, but also make the difference between an enjoyable adventure and a miserable one.